Preparing for tree removal in Sydney involves more than simply booking a contractor. Proper planning before work begins helps minimise delays, protect surrounding property, improve site safety and allow the removal process to run as efficiently as possible. With experience managing removals in residential properties, North Shore Tree Services understands that thorough preparation is just as important as the work itself.
This guide outlines the key steps to complete before removal day, from confirming approvals and preparing access to protecting gardens, notifying neighbours and organising timber, mulch and stump management. A well-prepared site supports safer operations, reduces unnecessary disruption and helps achieve a cleaner, more organised outcome from start to finish.
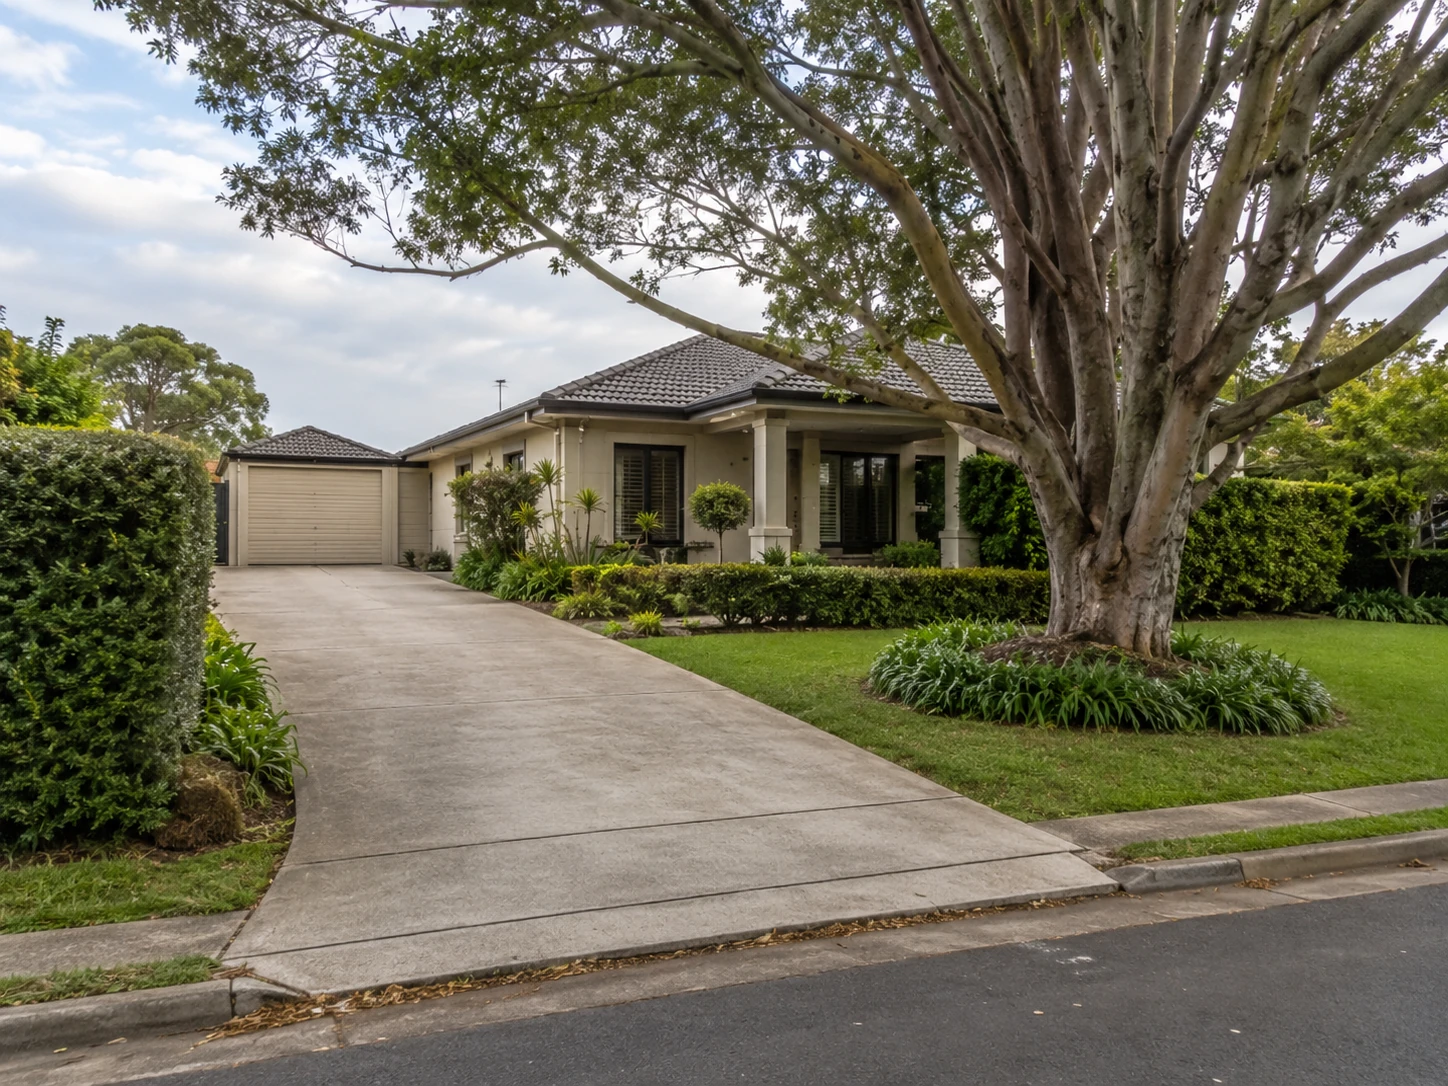
Before removal day, ensure that everyone involved understands exactly what has been approved and what will be done on site. Clear confirmation of permissions and scope reduces the risk of surprise costs, confusion or last-minute delays once the crew arrives.
This involves more than simply signing a quote. It requires written confirmation of permissions from the right parties, agreement on the details of the work and clarity about what is included or excluded in the service.
Tree removal often requires consent from more than one authority. Before work begins, confirm in writing that all necessary approvals are in place.
If the property is subject to council controls such as tree preservation orders or local environmental plans, check that the quoted work matches the approval granted. The description on the permit should align with what will actually be removed or pruned, including the species, location and extent of works.
On strata or shared properties, confirm written approval from the owners corporation or body corporate. The agreement should specify which trees are to be removed and where access is allowed.
Where boundaries are involved, clarify ownership. If a tree straddles a fence line, a written agreement from the neighbouring owner is recommended before removal proceeds.
The scope of work should be detailed and unambiguous. A precise written description reduces assumptions and helps the crew work efficiently.
Confirm the following in the quote or work order:
For trees close to houses, sheds, fences or service lines, confirm whether sectional dismantling with rigging is included rather than basic felling. If the protection of gardens, paving or lawns is important, clarify what measures will be used.
Misunderstandings most often occur around debris removal and site restoration. Check that the quote clearly states what will be taken away and what will remain.
Clarify whether all branches, logs and foliage will be removed from the site, whether mulch will be left in a pile or spread over specific garden areas and whether sawdust and small debris will be blown or raked from paths, decks and driveways.
Access arrangements should also be confirmed before the day of work. This includes access for vehicles, chippers and stump grinders, as well as any need to move cars, garden furniture or pot plants before the crew arrives. If access is through a neighbour’s property, written permission and a clear route should be agreed in advance.
Easy access to the tree is one of the biggest factors in how smoothly and safely removal day runs. A tree crew needs room to bring in vehicles and machinery, set up equipment and move branches and logs out efficiently. Preparing the area in advance can reduce time on site, lower the risk of property damage and help avoid unexpected delays or extra costs.
Good access does not just mean a clear driveway. It also includes overhead clearance, ground conditions, garden layouts and how close the tree is to buildings, fences, gates or neighbouring properties.

The crew will usually need space for a truck, chipper and sometimes a crane or elevated work platform. Vehicles typically need to get as close as safely possible to the tree.
Move vehicles from the driveway and street frontage where the crew is likely to park and work. Cars, trailers and boats should be parked well outside the work area, especially if the tree is in the front yard or near the driveway.
Walkways that the crew will use to access the tree or remove cut material should be cleared of hoses, tools, rubbish bins, pot plants and trip hazards. If bins are collected on the same day, place them away from the tree area so the crew does not have to keep moving them.
In tight garden paths where space is limited, removing a few pot plants, garden ornaments or narrow edging pieces can make it easier to move branches without scraping walls or damaging plants.
Many residential properties have side paths that are wide enough for a person but not always suitable for heavier equipment. Before removal day, check the width of side access points, gates and tight corners.
If a gate is locked, arrange access beforehand and ensure keys or codes are available. If a gate opens inward and restricts the passage of equipment, it may be able to be temporarily removed from its hinges to provide extra width. Trimming back hedges or shrubs that lean into a narrow path can also provide valuable clearance.
For properties with very restricted access, the crew may need advance notice to plan different techniques. Providing accurate information about layout and access when booking helps avoid surprises on the day.
Access is not only about what is on the ground. Overhead obstacles can also affect how machinery and cut branches are moved through the site.
Check for low branches, awnings, clotheslines, pergolas, overhead service lines and other structures that may restrict movement. While the crew will assess the site professionally, letting them know about tight overhead clearance before removal day can help with planning.
Ground conditions also matter. Soft lawns, sloping blocks and recently watered garden areas can make machinery movement harder. Where heavy foot traffic or log movement is likely, temporary boards or plywood sheets can help protect lawns, garden beds, paving and decks.
A clear work zone is essential for safe and efficient tree removal. The area around the tree should be free of obstacles that could trip workers, block equipment or be damaged by falling branches and debris.
Tree removal often takes place in tight gardens, sloping blocks and established residential properties where space is limited. Clearing and protecting the surrounding area makes it easier for the crew to control the work zone and reduces the risk of unnecessary damage.

Anything that can be moved away from the drop zone should be relocated well before work begins. This includes objects directly under the canopy as well as items nearby that could be struck by swinging branches, falling debris or handled logs.
Outdoor furniture, barbeques, play equipment, pot plants, garden ornaments, portable drying racks and rubbish bins should be shifted to a different part of the property or inside a garage or shed.
Garden hoses should be coiled and removed from paths where workers will walk or carry gear. Loose items should not be left leaning against fences, walls or trees near the work area.
The ground around a removal site will usually experience some level of foot traffic, falling debris and material movement. Where possible, delicate features should be protected or temporarily removed before the crew arrives.
Lightweight garden features should be moved out of the immediate work zone. In vegetable patches or flower beds close to the trunk, removable stakes, fragile supports or garden art should be taken out and stored safely.
For in-ground beds that cannot be moved, focus on creating clear access routes that avoid the most sensitive areas. Mark valuable plants, hidden irrigation lines or delicate edging with flags or stakes so the crew can see where extra care is required.
Many homes have tiled courtyards, paved areas, timber decks or pool surrounds near mature trees. If heavy foot traffic or log movement is likely, thick plywood sheets or similar boards can help spread the weight and reduce the risk of impact damage.
Trees are often located close to fences, sheds, windows, glass pool fencing, air conditioning units, retaining walls or rooflines. Before removal day, identify anything near the work area that may need additional protection or extra care.
Move portable items away from these structures where possible. If fixed features cannot be moved, clear the surrounding space so the crew can work without constantly dodging obstacles.
If there are fragile or high-value items that cannot be relocated, advise the office before removal day and remind the crew when they arrive. Clear information, combined with a well-prepared site, increases the chance that important garden and property features remain intact once the tree is gone.
Tree removal involves powerful machinery, falling branches and heavy debris. The work zone is not safe for children or animals at any stage of the process. Keeping children and pets completely away from the area is one of the most important preparations a property owner can make before the crew arrives.
Planning this early avoids last-minute stress on the day. Arrange safe supervision, block access points and clearly communicate the rules so everyone knows what to expect when work begins.
Children and pets are naturally curious. The noise of chainsaws, chippers and trucks can attract them closer to the action at exactly the wrong time.
Even at a distance, they can be at risk from:
Pets may bolt if startled by loud sounds or vibrations. Children can move into the work zone quickly to see what is happening. Even a brief distraction can coincide with a critical moment in the removal process.
Before tree removal day, decide exactly where children and pets are not allowed to go. The exclusion zone should include the tree and surrounding area, access paths needed for machinery and crew and the space where trucks will park and load debris.
Ideally, keep children and pets inside the house with doors and low windows closed on the side of the work. If outdoor access is necessary, choose a part of the yard that is completely separated from the work zone by solid fencing or walls, not temporary barriers.
If fencing is incomplete or there are open gates, close and lock all gates that lead towards the work area. Pet bedding, food and water should be moved to a closed room away from the noise.
Plan active supervision rather than assuming children or pets will stay away. Many removals are booked during work hours, so consider alternative care in advance, such as a friend, relative or daycare for young children.
Explain the rules to older children in simple terms before the crew arrives. They should know not to go outside without an adult, not to open doors to the yard and not to approach the workers or machinery.
Tree removal is not a time to watch closely or help from the sidelines. Keeping children and pets well away from the work area protects them and allows the crew to focus on the job safely.
Notifying neighbours before tree removal keeps the day running smoothly and helps avoid complaints or misunderstandings. Early communication helps manage expectations about noise, access and any temporary inconvenience.
Tree work can affect more than just the property where the tree stands. Neighbours may need to move vehicles, secure pets or plan around noise. A quick, clear heads-up is usually all that is required.
Provide clear practical information rather than vague reassurances. Neighbours are usually most interested in what will happen, when it will happen and how long it is likely to last.
Aim to let affected neighbours know at least several days before the scheduled work, or earlier if access will be restricted. In some strata or body corporate settings, longer notice may be expected.
Key points to communicate include:
A short note in the letterbox works if neighbours are often out. A brief face-to-face conversation is ideal where possible because it allows questions to be answered on the spot.
Neighbour notification is not just a courtesy. It also supports safety by reducing unexpected interference with the work site.
Ask neighbours to keep children and pets away from the immediate area and any access paths that may be used by workers and machinery. If a shared driveway or laneway will be blocked for a period, clarify the expected timeframe so neighbours can arrange school runs, deliveries or appointments around it.
For neighbours who work from home or sleep during the day, an honest outline of expected noise levels and duration allows them to plan. Where practical, work should be scheduled within normal working hours and with reasonable consideration for surrounding properties.
Planning what will happen to the tree once it is on the ground is as important as preparing the site itself. Deciding in advance how timber, mulch, stumps and leafy material will be handled avoids surprise costs, messy lawns and unwanted piles of debris left on site.
Each component of the tree can be disposed of, recycled or reused in different ways. Clarifying preferences before removal day ensures the crew arrives with the right equipment and understands exactly what must be taken away and what should be left for future use.
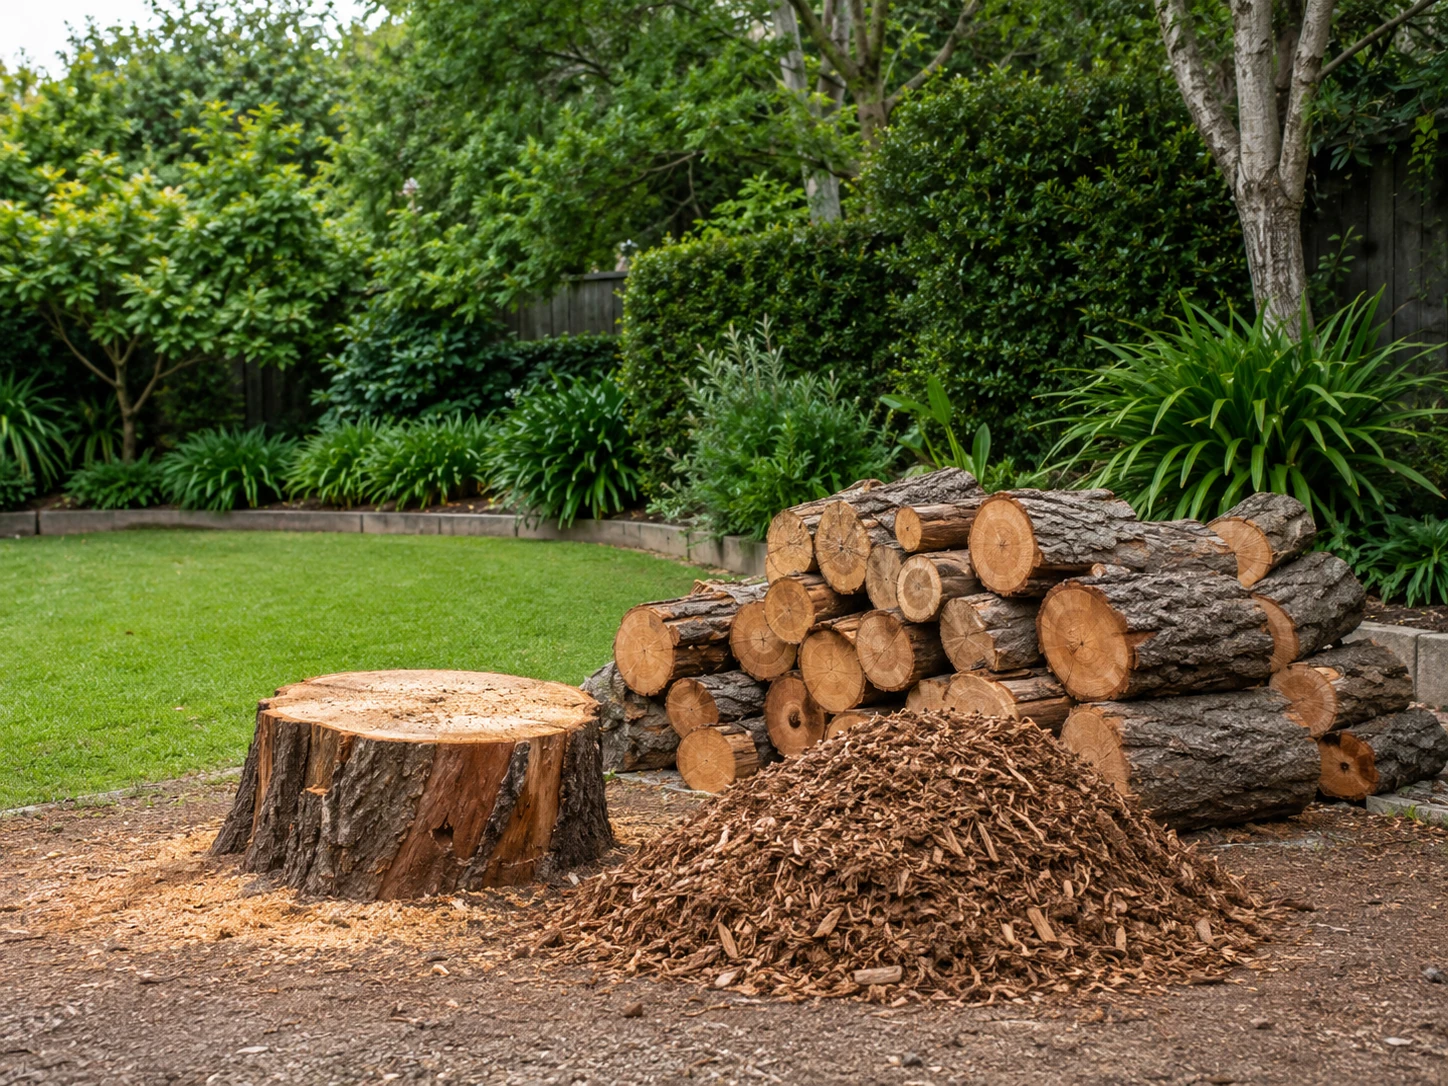
Larger stems and trunk sections are often the most useful by-product of tree removal. Before work starts, decide whether timber should be:
If using timber as firewood, specify the preferred length and whether splitting is required. Splitting is more labour-intensive and may cost extra. If milling is planned, confirm the minimum log length and diameter needed so cutting can be done correctly from the start.
Branches and smaller limbs are usually chipped into mulch. This can be useful for gardens, but only if a realistic amount is kept. Chip volume is often much larger than expected.
If mulch is to be used in garden beds, decide where it should be placed. It may be left in a pile or spread over specific areas if this has been agreed in the quote.
If the tree was diseased or affected by pests, ask whether the chipped material should be removed rather than reused around healthy plants. If there is limited space or no immediate use for mulch, arrange for the chipper truck to take everything off site.
Once the trunk is down, a decision must be made about the stump. Options include leaving it in place at a set height or having it ground below surface level.
Stump grinding allows replanting or turf to be laid over the area later, but it creates a mound of grindings mixed with soil. Confirm whether those grindings should be left to settle, reused elsewhere in the garden or removed.
For foliage, twigs and small offcuts, specify whether all loose green waste should be chipped and removed. Clear instructions before work begins result in a tidier site and more predictable clean-up costs once the tree is gone.
Successful tree removal begins well before the first cut is made. Confirming approvals, preparing clear access, protecting surrounding property, planning for children and pets, notifying affected neighbours and deciding how timber, mulch and stumps will be managed all contribute to a safer and more efficient project.
Careful preparation reduces delays, helps prevent property damage and allows the removal process to proceed with minimal disruption. With the right planning and clear communication before removal day, tree removal can be completed safely and with a cleaner, more organised result.